For homeowners, cabin dwellers, and remodelers comparing pellet stoves to wood or electric heat, the sticking points are real: confusing BTU ratings, “will this actually heat my space?”, venting details, electrical needs, noise, and install costs that can snowball. If that’s you, you’re not alone—and you don’t have to guess. Best Pellet Stoves sizes your system precisely, maps a safe vent plan, recommends trusted models (from small pellet stove options to premium picks like a Harman pellet stove), and pairs you with vetted installers so you get efficient, code‑compliant heat without surprises.
How a Pellet Stove Works: BTU Basics for Your Space
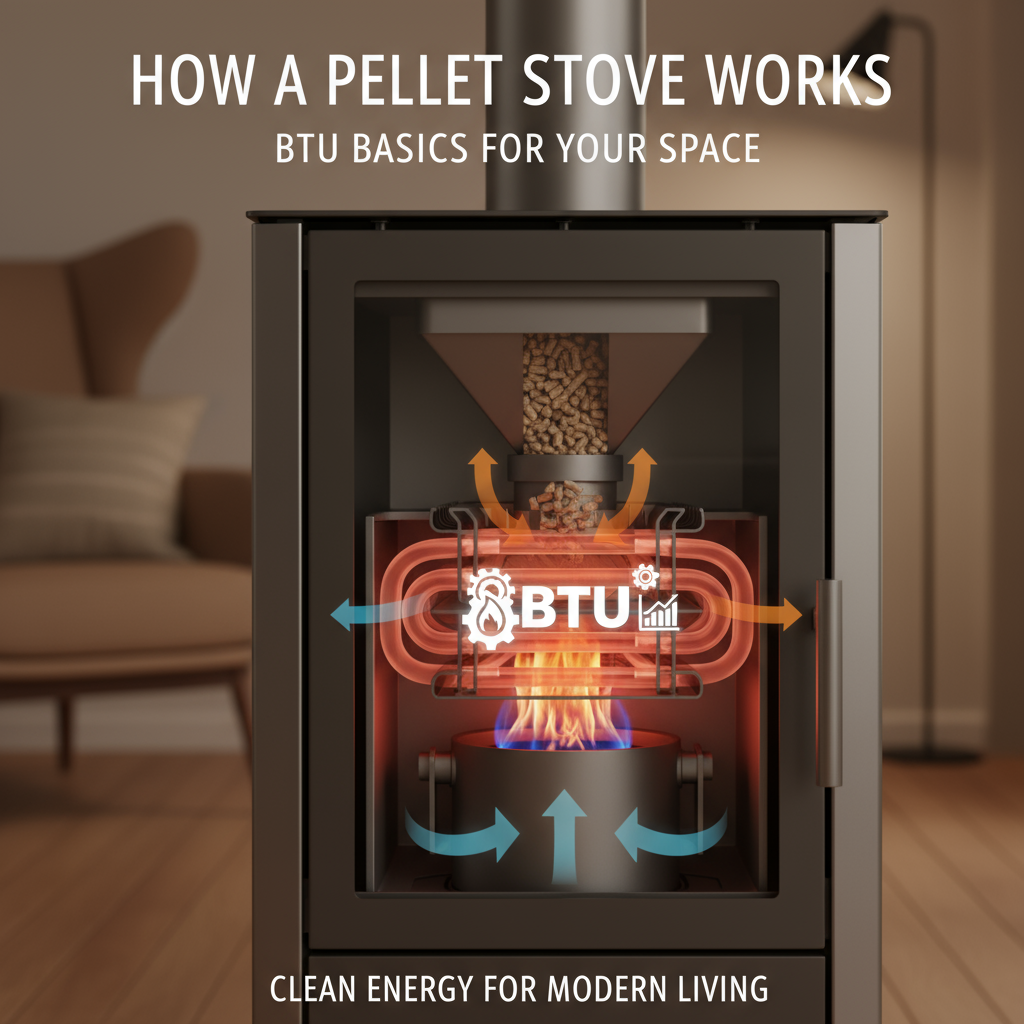
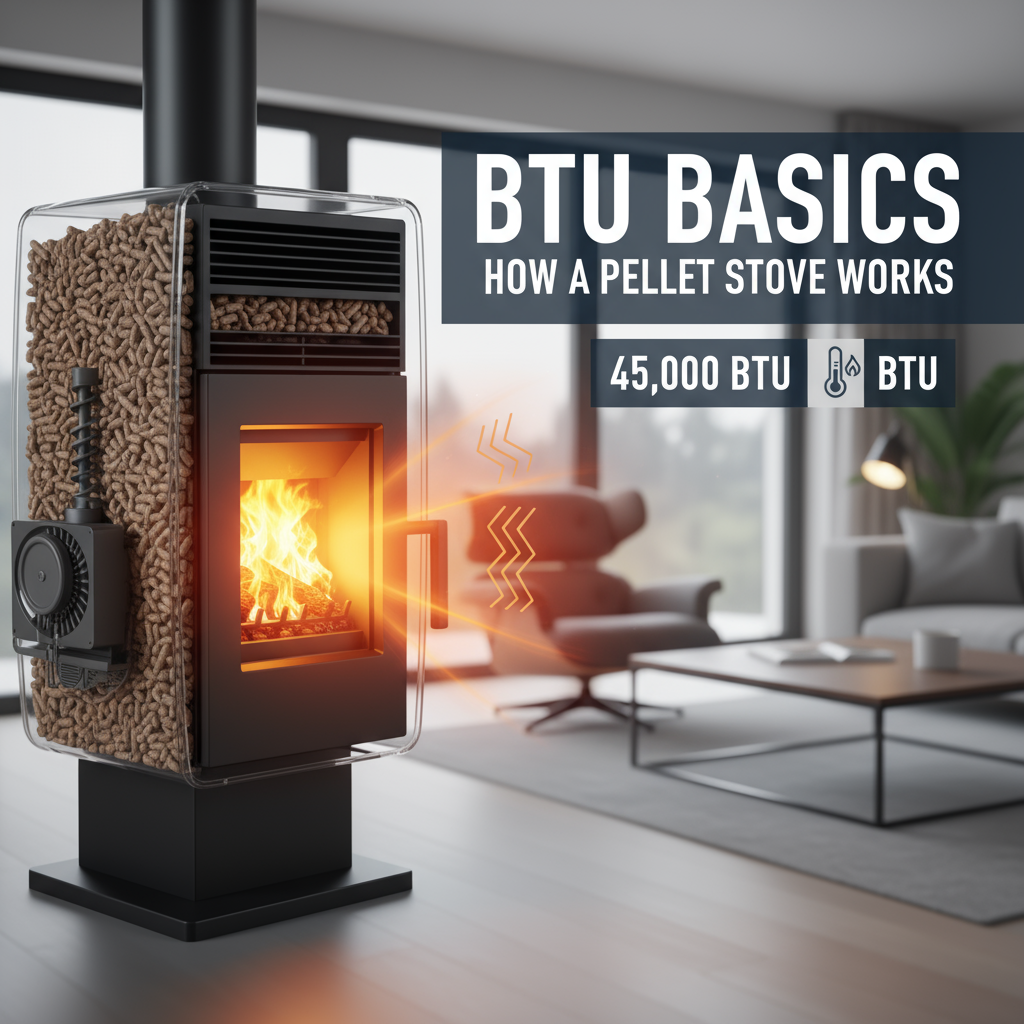
Short version: a pellet stove is a controlled, fan‑assisted heater that burns compressed wood pellets and pushes warm air into your room with impressive consistency. The magic is in the feed rate and airflow—your heat output (BTU/hr) scales up or down automatically, so you get steady comfort instead of the rollercoaster you might get with a traditional wood stove.
What is a pellet stove?
A pellet stove is a space heating appliance that burns small, uniform wood pellets. Pellets are dense (about 8,600 BTU per pound), dry, and predictable—great for precise control. Many models are freestanding; others are a pellet stove insert that slides into an existing masonry or factory‑built fireplace to convert it into efficient, thermostat‑controlled heat.
Core components you’ll see on most pellet stoves:
- Hopper: where pellets are stored (typically 40 to 80 pounds).
- Auger: a screw that meters pellets from the hopper to the burn pot.
- Burn pot: where pellets ignite and burn.
- Combustion fan: supplies air to the fire and moves exhaust through the vent.
- Convection fan: pulls room air across the heat exchanger and blows warm air out.
- Control board + sensors: manage ignition, feed rate, and safety limits.
- Venting: uses 3–4 inch pellet vent (Type L). No full masonry chimney is required in most installs.
People often type “stove pellet stove” into Google (funny, but it happens). You’re in the right place—this is the efficient, thermostatically controlled one.
How does a pellet stove work?
Here’s the airflow‑and‑fuel choreography, in plain terms:
- You set a heat level or room temperature on the control board or wall thermostat.
- The igniter heats up (auto‑ignite models), and the auger drops a measured amount of pellets into the burn pot.
- The combustion fan pulls in air, fueling a clean, hot burn; exhaust exits through a small vent pipe.
- Heat transfers to the exchanger; the convection fan then pushes that warmed air into your room.
- Sensors monitor flame, temperature, and vacuum; the control board modulates the auger so output (BTU/hr) matches your call for heat.
Because the feed rate is metered, the output is remarkably consistent. In my experience, this “set‑and‑forget” stability—especially on a Harman pellet stove with a smart control board—wins over folks who got tired of babysitting a wood fire.
Pellet stove BTU: the essentials you actually need
Two truths that unlock sizing:

- Input vs output: Manufacturers often quote “input BTU.” What you feel is “output BTU.” Output ≈ Input × efficiency.
- Pellets pack energy: 1 pound of pellets ≈ 8,600 BTU (consistent enough to plan real numbers).
How many BTUs do you need?
Start with a simple rule of thumb, then refine. For a reasonably insulated home at 68°F inside with a 32°F outdoor design temperature, plan for about 22 BTU per square foot. Colder climates (design 0°F) often land around 35 BTU per square foot. Tight, well‑insulated spaces need less; leaky, tall, or open‑plan spaces need more.
Examples you can copy:
- 400 sq ft office, mild climate: 400 × 18 ≈ 7,200 BTU/hr output
- 1,200 sq ft ranch, moderate climate: 1,200 × 22 ≈ 26,400 BTU/hr output
- 2,000 sq ft home, cold climate: 2,000 × 35 ≈ 70,000 BTU/hr output (often 2 stoves or a primary + ducted heat)
Translation to real stoves: a compact, small pellet stove that outputs around 14,000 BTU/hr comfortably runs that 400 sq ft office. A mid‑size unit that outputs roughly 28,000 BTU/hr handles the 1,200 sq ft ranch. Bigger homes may need a high‑output unit plus good airflow—or a pellet stove insert downstairs and a freestanding unit upstairs.
Do the math: pellet feed rate to output
Use this to sanity‑check specs. Suppose the control board feeds 2.5 lb/hr. Energy in is 2.5 × 8,600 = 21,500 BTU/hr. At 82% efficiency, you get 17,630 BTU/hr to the room. Bump to 4.0 lb/hr at the same efficiency and you’re around 28,160 BTU/hr output. Clear, predictable, controllable.
What about cost?
If a 40‑lb bag costs $7, that’s $0.175 per pound. Burning 2 lb/hr costs $0.35 per hour and delivers roughly 14,100 BTU/hr output at 82% efficiency. Heating a living room for 7 hours is about $2.45. Real talk: prices vary by region and season, so plug in your local bag price—Best Pellet Stoves can run this calculation with you and compare it to your electric or propane rate before you buy.
Do pellet stoves need a chimney?
No, not a traditional masonry chimney. Pellet stoves typically use 3–4 inch Type L pellet vent and can side‑wall vent (horizontal) or go vertical through the roof. The combustion fan actively pushes exhaust, so the system is “forced draft,” which is why a full chimney isn’t required.
Key vent points that matter for safety and code:
- Keep required clearances from doors, windows, and grade; use a listed wall thimble and termination cap.
- Vertical rise improves draft stability and keeps soot off the siding—often worth adding.
- Outside Air Kit (OAK) may be required in tight homes and is a smart efficiency upgrade.
- Every joint gets high‑temp sealant—no shortcuts. Exhaust leaks are a non‑starter.
If vent routing feels like a maze, Best Pellet Stoves will sketch a code‑compliant vent plan for your layout and climate (wind exposure matters more than people think).
How to install a pellet stove
Short guide so you can gauge the scope—then decide if you want pro help.
- Pick the location: obey side/back/top clearances from the manual, and plan a straight, short vent path.
- Power: a dedicated 120V outlet on a surge protector. Pellet stoves need electricity for auger, fans, and controls.
- Hearth protection: many units need ember/spark protection; some need thermal R‑value—check the listing.
- Vent: measure once, cut once. Install the wall thimble, L‑vent with sealed joints, proper support, and termination.
- Outside Air Kit: run the intake to the exterior if required or recommended.
- Assemble, level, seal: set the stove, connect vent and intake, and verify gaskets.
- Startup sequence: prime the auger, verify pressures if your model provides a test port, and run the break‑in burn.
If this feels like a lot, Best Pellet Stoves can handle it: model selection, vent kit, and a local installer who won’t cut corners—so you hit the ground running.
How to light a pellet stove
Two scenarios—both simple.

Auto‑ignite (most modern stoves, including many Harman pellet stove models)
Fill the hopper. Set heat level or temperature. Press start. The igniter glows, the auger feeds, flame establishes in a few minutes, and the control board ramps to your setpoint.
Manual‑light (non‑igniter or backup mode)
Pour a small handful of pellets in the burn pot, add manufacturer‑approved gel, and light. Close the door and start the combustion fan. Once you see a strong flame, switch to run. Don’t use lighter fluid—ever.
Pellet stove insert vs freestanding
A pellet stove insert is designed to convert an existing fireplace. You get a finished surround, hidden vent liner in the chimney, and built‑in look—great for living rooms. Freestanding units are more flexible for placing heat where you actually live (kitchens and open family rooms). Both deliver thermostat control and similar efficiencies; choice is about location, aesthetics, and venting convenience.
Maintenance and reliability tips
This is important. Really important.
- Daily to every few days: quick burn‑pot scrape for a clean ignition and bright flame.
- Weekly: vacuum ash traps and heat exchanger, empty the ash pan.
- Monthly: check door and hopper gaskets, clean glass so you can read the flame.
- Annually: full tear‑down cleaning and vent brushing. Book this before the first cold snap.
- Power backup: a small UPS keeps the fans running during short outages so the stove shuts down cleanly.
From what I’ve seen, consistent cleaning plus quality pellets makes a bigger difference than people expect—fewer shutdowns, quieter operation, and steadier BTU output.
FAQ: quick answers you can trust
Can a pellet stove heat an entire house?
Yes—if the BTU output matches your heat loss and the floor plan allows airflow. A 28,000 BTU/hr output unit can cover about 1,200 sq ft in a moderate climate. Larger or multi‑story homes may need strategic placement, a second unit, or floor registers to move air. Best Pellet Stoves can model your layout and give an honest yes/no before you buy.
How much electricity do pellet stoves use?
During ignition, about 300 watts for several minutes. Once running, roughly 60–120 watts depending on fan speed. At $0.15/kWh, that’s near $0.01–$0.02 per hour while running, which is small relative to fuel cost.
Do pellet stoves work without power?
No. The auger and fans need electricity. Use a UPS for short outages or a small inverter generator for storms. Some wood and pellet combo heaters exist, but a standard pellet stove won’t operate safely without power.
How long does a 40‑lb bag of pellets last?
It depends on heat setting. At 1.5 lb/hr, about 26 hours. At 3.0 lb/hr, roughly 13 hours. Translate that directly to output using the 8,600 BTU per pound rule and your efficiency.
What’s a good small pellet stove size for tiny homes or cabins?
Target an output near 12,000–16,000 BTU/hr for tight 300–600 sq ft spaces, plus a low turndown so it doesn’t overheat in shoulder seasons. Best Pellet Stoves can recommend compact footprints that fit tight clearances and still give you thermostat control.
Want a dead‑simple path to the right choice? Share your square footage, ceiling height, insulation level, and climate with Best Pellet Stoves—we’ll run the BTU math, compare models (including insert vs freestanding), lay out a clean vent plan, and line up installation so you’re warm faster and spending smarter.